


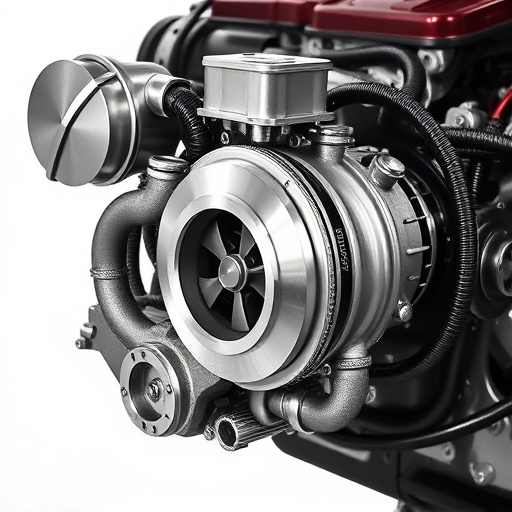
Before installing a Power Stop brake kit, gather essential tools and components, including high-performance brake pads, cold air intakes (optional), and suspension kits for optimal results. Disassemble the existing brake system methodically, addressing rusted bolts. Install the new Power Stop kit, securing calipers, pads, and rotors, with potential alignment adjustments for best performance, especially with cold air intakes.
Upgrading your vehicle’s brakes with a Power Stop Brake Kit is a smart choice for enhanced stopping power and improved safety. This guide walks you through the process, from gathering the necessary tools to installing the new kit step-by-step. Before you begin, ensure you have the right components and tools, including the Power Stop Brake Kit, jack, lug wrench, and other essential items. Then, carefully remove the existing brake parts, following a systematic approach to avoid complications.
- Gather Required Tools and Components for Upgrade
- Remove Existing Brake System Parts Methodically
- Install Power Stop Brake Kit Step-by-Step Guide
Gather Required Tools and Components for Upgrade
Before tackling any vehicle upgrade, especially a significant component like the power stop brake kit, ensure you have all the necessary tools and parts. This includes high-quality replacement brake pads, designed to offer superior stopping power and durability—a crucial aspect when enhancing your car’s braking system. Additionally, consider complementary upgrades such as cold air intakes for improved engine performance and suspension kits for a smoother ride, enhancing overall driving experience. Gather these essentials to ensure a seamless installation process and optimal vehicle performance after the upgrade.
Remove Existing Brake System Parts Methodically
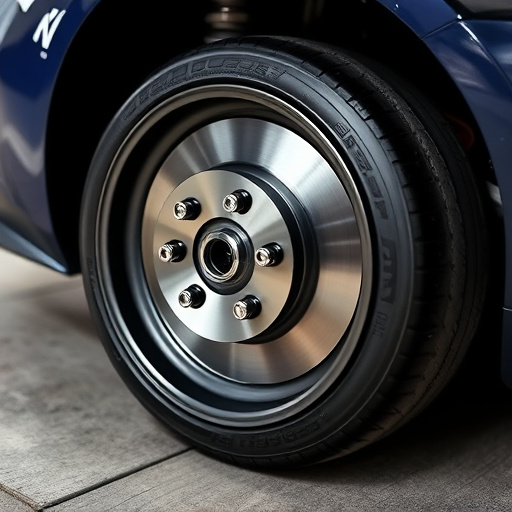
When upgrading to a Power Stop brake kit, the first step is to remove your existing brake system components. Begin by locating and securing the brake fluid reservoir, then carefully take apart each part – calipers, brake pads, and rotors – in a methodical order. This ensures you don’t lose any hardware or damage other components during disassembly.
Pay close attention to the mounting bolts and brackets, as they may be subject to rust or corrosion over time, especially if your vehicle has been through harsh conditions or features older exhaust mufflers or exhaust systems. By taking a systematic approach, you can make sure that replacing your brake system with the new Power Stop kit is a smooth, safe process.
Install Power Stop Brake Kit Step-by-Step Guide
Upgrading your vehicle’s braking system with a Power Stop Brake Kit is a straightforward process that can significantly enhance your driving experience and safety. Here’s a step-by-step guide to help you navigate this upgrade smoothly. First, locate the brake calipers—these are the metal components that squeeze the rotors to slow down or stop your vehicle. Ensure proper clearance between the calipers and the wheels when mounting the new kit.
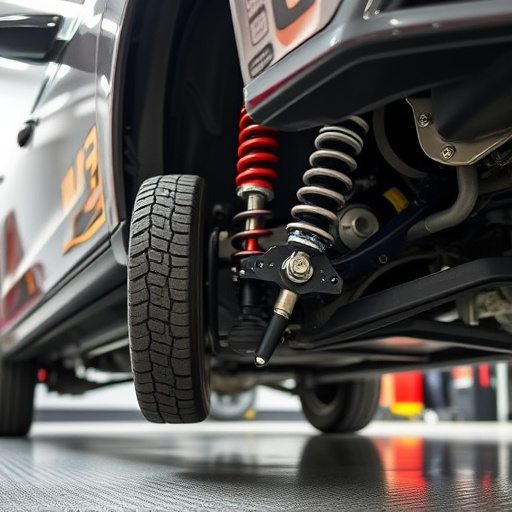
Next, carefully remove the old brakes by detaching the hydraulic lines from the calipers and carefully pulling them out. Install the Power Stop Brake Kit by securing the new calipers in place using the provided hardware. Make sure all suspension components are aligned correctly to accommodate the new brake setup. This might involve adjusting your vehicle’s alignment or even installing coilover kits for optimal performance, especially if you have a car with a cold air intake system.
Upgrading your vehicle’s brakes with a Power Stop Brake Kit is a straightforward process that can significantly enhance safety and performance. By following these steps and utilizing the correct tools, you can efficiently install the new brake system, ensuring a smoother and more controlled driving experience. Remember to always prioritize safety when working on your car, and consult professional guidance if needed. With the right preparation and this comprehensive guide, you’re well-equipped to tackle this upgrade and enjoy improved braking capabilities.